boardgamevideo
  • Trending
  • Videos
  • Games
  • Channels
  • Lists
  • Shorts

Explore

  • Home
  • Trending
  • Channels
  • Videos
  • Games
  • Lists
  • Shorts
  • Conventions
  • Year in Review

Browse by type

  • Reviews
  • How to play
  • Playthroughs
  • Unboxing
  • Top 100 lists
  • Featured videos
  • Trending this week
  • Rising games
  • Games with fresh review perspectives

Information

  • About
  • Contact
  • Terms & Conditions
  • Privacy Policy

© 2022–2026 BoardGameVideo.com

Powered by BGG
  • Videos
  • Trending
  • Shorts
  • Channels
  • Games
  • Lists
Mar 19, 2024·Playthrough·01:36:38·4·Watch on YouTube

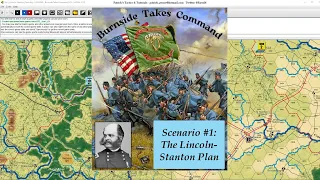
Burnside Takes Command - Scenario #1 - The Lincoln-Stanton Plan

Patrick's Tactics & Tutorials

Patrick's Tactics & Tutorials

Watch “Burnside Takes Command - Scenario #1 - The Lincoln-Stanton Plan,” a gameplay video for Burnside Takes Command on BoardGameVideo.

Description provided by Patrick's Tactics & Tutorials on YouTube:
My virtual tip jar: https://ko-fi.com/patricks_tactics (Please support if you are enjoying the content!) Heading back to 1862, Roger and I examine the replacement of McClellan with Burnside Takes Command. (Skirmisher #2, MMP 2003) The basic scenarios in this module recreate the autumn Union offensive under Ambrose Burnside to take the fighting back toward Richmond by way of Fredericksburg. Come join us and please submit comments below! An introductory teaching session of GCACW live play using Burnside Takes Command (The Lincoln-Stanton Plan) with Vassal. This is the first play-through, with Patrick (USA) vs Roger K. (CSA). Recorded on 3/17/2024. 0:00 Welcome, Credits, and Introductions 19:45 Scenario Overview 32:30 Game 1:23:30 Session Review https://en.wikipedia.org/wiki/Battle_of_Fredericksburg GCACW Discord Server: https://discord.gg/8dvQ7hPVGK

Explore more Videos

  1. Burnside Takes Commands - Scenario #3- The Battle of Fredericksburg1:04:30
    Burnside Takes Commands - Scenario #3- The Battle of Fredericksburg
    Patrick's Tactics & Tutorials
  2. Combat Commander: Vietnam - Scenario 9: Brown Water Brawl49:27
    Combat Commander: Vietnam - Scenario 9: Brown Water Brawl
    Patrick's Tactics & Tutorials
  3. Burnside Takes Command - Scenario #2 - The Pontoons Arrive - REMATCH, Part 11:15:54
    Burnside Takes Command - Scenario #2 - The Pontoons Arrive - REMATCH, Part 1
    Patrick's Tactics & Tutorials
  4. Roads to Gettysburg II - Scenario #5 - The Battle of Gettysburg - Rematch, part 21:16:24
    Roads to Gettysburg II - Scenario #5 - The Battle of Gettysburg - Rematch, part 2
    Patrick's Tactics & Tutorials
  5. Roads to Gettysburg II - Scenario #3 - The Confederate High Tide32:37
    Roads to Gettysburg II - Scenario #3 - The Confederate High Tide
    Patrick's Tactics & Tutorials
  6. Roads to Gettysburg II - Scenario #5 - The Battle of Gettysburg, part 251:44
    Roads to Gettysburg II - Scenario #5 - The Battle of Gettysburg, part 2
    Patrick's Tactics & Tutorials
  7. Roads to Gettysburg II - Scenario #4 - The First Day at Gettysburg1:05:30
    Roads to Gettysburg II - Scenario #4 - The First Day at Gettysburg
    Patrick's Tactics & Tutorials
  8. Burnside Takes Command - Scenario #2 - The Pontoons Arrive, Part 353:24
    Burnside Takes Command - Scenario #2 - The Pontoons Arrive, Part 3
    Patrick's Tactics & Tutorials
  9. Prague Unseen Review: Czech This Out19:26
    Prague Unseen Review: Czech This Out
    The Dice Tower
  10. The Danes - Teach & Playthrough1:39:40
    The Danes - Teach & Playthrough
    Before You Play
  11. Burnside Takes Command - Scenario #1 - The Lincoln-Stanton Plan - Rematch1:37:05
    Burnside Takes Command - Scenario #1 - The Lincoln-Stanton Plan - Rematch
    Patrick's Tactics & Tutorials
  12. Burnside Takes Command - Scenario #2 - The Pontoons Arrive - REMATCH, Part 21:26:21
    Burnside Takes Command - Scenario #2 - The Pontoons Arrive - REMATCH, Part 2
    Patrick's Tactics & Tutorials
Burnside Takes Command

Burnside Takes Command

2003·Ed Beach, Karl Laskas

Videos
8
Creators
1

Playthroughs. Burnside Takes Command is covered on BoardGameVideo.com by 8 recorded sessions.

2 players
120 min
Heavy weight: Expect a long teach

About Burnside Takes Command, from BoardGameGeek:

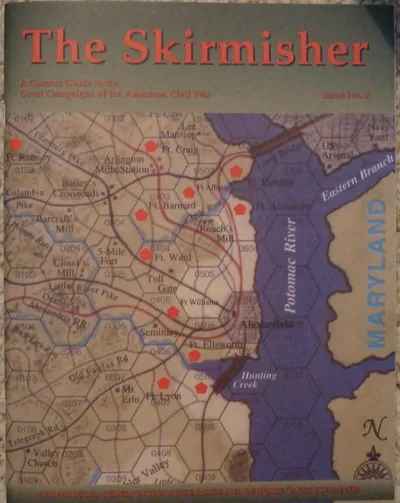
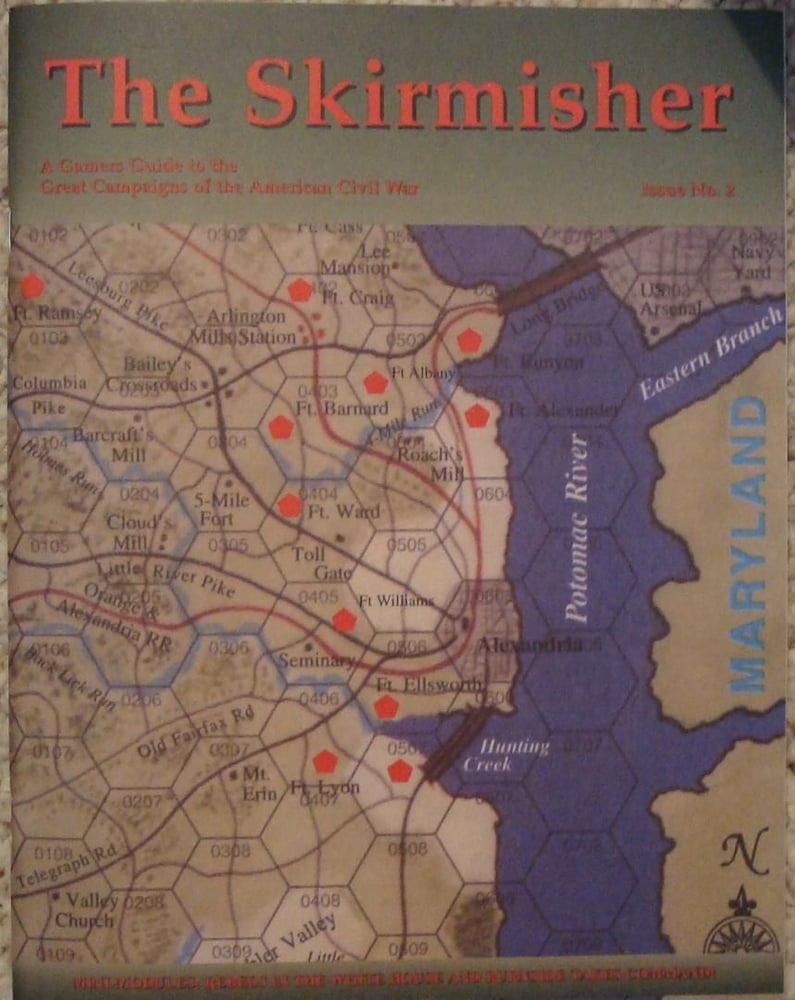
One of the Great Campaigns of the American Civil War series modules. This one covers Ambrose Burnside's attempt to cross the Rappahannock River in late 1862, a campaign which ended with the Battle of Fredericksburg. Necessary command counters are from The Skirmisher #2 and the maps from Stonewall's Last Battle: The Chancellorsville Campaign and Grant Takes Command. This module is found in The Skirmisher #2.

Designers

Ed Beach, Karl Laskas

Artist

Charles Kibler

Publisher

Multi-Man Publishing

Categories

American Civil WarCivil War

Mechanics

Dice RollingGrid Movement
View on BoardGameGeek ›
Burnside Takes Command

Explore more videos

Burnside Takes Commands - Scenario #3- The Battle of FredericksburgPlaythrough1:04:30

Burnside Takes Commands - Scenario #3- The Battle of Fredericksburg

Patrick's Tactics & Tutorials

Patrick's Tactics & Tutorials

Combat Commander: Vietnam - Scenario 9: Brown Water BrawlPlaythrough49:27

Combat Commander: Vietnam - Scenario 9: Brown Water Brawl

Patrick's Tactics & Tutorials

Patrick's Tactics & Tutorials

Burnside Takes Command - Scenario #2 - The Pontoons Arrive - REMATCH, Part 1Playthrough1:15:54

Burnside Takes Command - Scenario #2 - The Pontoons Arrive - REMATCH, Part 1

Patrick's Tactics & Tutorials

Patrick's Tactics & Tutorials

Roads to Gettysburg II - Scenario #5 - The Battle of Gettysburg - Rematch, part 2Playthrough1:16:24

Roads to Gettysburg II - Scenario #5 - The Battle of Gettysburg - Rematch, part 2

Patrick's Tactics & Tutorials

Patrick's Tactics & Tutorials

Roads to Gettysburg II - Scenario #3 - The Confederate High TidePlaythrough32:37

Roads to Gettysburg II - Scenario #3 - The Confederate High Tide

Patrick's Tactics & Tutorials

Patrick's Tactics & Tutorials

Roads to Gettysburg II - Scenario #5 - The Battle of Gettysburg, part 2Playthrough51:44

Roads to Gettysburg II - Scenario #5 - The Battle of Gettysburg, part 2

Patrick's Tactics & Tutorials

Patrick's Tactics & Tutorials

Roads to Gettysburg II - Scenario #4 - The First Day at GettysburgPlaythrough1:05:30

Roads to Gettysburg II - Scenario #4 - The First Day at Gettysburg

Patrick's Tactics & Tutorials

Patrick's Tactics & Tutorials

Burnside Takes Command - Scenario #2 - The Pontoons Arrive, Part 3Playthrough53:24

Burnside Takes Command - Scenario #2 - The Pontoons Arrive, Part 3

Patrick's Tactics & Tutorials

Patrick's Tactics & Tutorials

Prague Unseen Review: Czech This OutReview19:26

Prague Unseen Review: Czech This Out

The Dice Tower

The Dice Tower

The Danes - Teach & PlaythroughPlaythrough1:39:40

The Danes - Teach & Playthrough

Before You Play

Before You Play

Burnside Takes Command - Scenario #1 - The Lincoln-Stanton Plan - RematchPlaythrough1:37:05

Burnside Takes Command - Scenario #1 - The Lincoln-Stanton Plan - Rematch

Patrick's Tactics & Tutorials

Patrick's Tactics & Tutorials

Burnside Takes Command - Scenario #2 - The Pontoons Arrive - REMATCH, Part 2Playthrough1:26:21

Burnside Takes Command - Scenario #2 - The Pontoons Arrive - REMATCH, Part 2

Patrick's Tactics & Tutorials

Patrick's Tactics & Tutorials

Roads to Gettysburg II - Scenario #5 - The Battle of Gettysburg, part 1Playthrough1:25:07

Roads to Gettysburg II - Scenario #5 - The Battle of Gettysburg, part 1

Patrick's Tactics & Tutorials

Patrick's Tactics & Tutorials

Avalon: The Riven Veil Review — The Oathsworn devs made an Area Control!Review52:57

Avalon: The Riven Veil Review — The Oathsworn devs made an Area Control!

Shelfside

Shelfside

Roads to Gettysburg II - Scenario #2 - Stuart Rides North - RematchPlaythrough53:53

Roads to Gettysburg II - Scenario #2 - Stuart Rides North - Rematch

Patrick's Tactics & Tutorials

Patrick's Tactics & Tutorials

Burnside Takes Command - Scenario #2 - The Pontoons Arrive, Part 1Playthrough55:31

Burnside Takes Command - Scenario #2 - The Pontoons Arrive, Part 1

Patrick's Tactics & Tutorials

Patrick's Tactics & Tutorials

More videos about Burnside Takes Command

Burnside Takes Command - Scenario #2 - The Pontoons Arrive - REMATCH, Part 1Playthrough1:15:54

Burnside Takes Command - Scenario #2 - The Pontoons Arrive - REMATCH, Part 1

Patrick's Tactics & Tutorials

Patrick's Tactics & Tutorials

Burnside Takes Command - Scenario #2 - The Pontoons Arrive, Part 3Playthrough53:24

Burnside Takes Command - Scenario #2 - The Pontoons Arrive, Part 3

Patrick's Tactics & Tutorials

Patrick's Tactics & Tutorials

Burnside Takes Command - Scenario #2 - The Pontoons Arrive - REMATCH, Part 2Playthrough1:26:21

Burnside Takes Command - Scenario #2 - The Pontoons Arrive - REMATCH, Part 2

Patrick's Tactics & Tutorials

Patrick's Tactics & Tutorials

Burnside Takes Command - Scenario #2 - The Pontoons Arrive, Part 2Playthrough44:13

Burnside Takes Command - Scenario #2 - The Pontoons Arrive, Part 2

Patrick's Tactics & Tutorials

Patrick's Tactics & Tutorials

Burnside Takes Commands - Scenario #3- The Battle of FredericksburgPlaythrough1:04:30

Burnside Takes Commands - Scenario #3- The Battle of Fredericksburg

Patrick's Tactics & Tutorials

Patrick's Tactics & Tutorials

Burnside Takes Command - Scenario #2 - The Pontoons Arrive, Part 1Playthrough55:31

Burnside Takes Command - Scenario #2 - The Pontoons Arrive, Part 1

Patrick's Tactics & Tutorials

Patrick's Tactics & Tutorials

Burnside Takes Command - Scenario #1 - The Lincoln-Stanton Plan - RematchPlaythrough1:37:05

Burnside Takes Command - Scenario #1 - The Lincoln-Stanton Plan - Rematch

Patrick's Tactics & Tutorials

Patrick's Tactics & Tutorials

Related Content

More Burnside Takes Command videos
game

More Burnside Takes Command videos

channel

More videos from this channel

Home
Videos
Burnside Takes Command - Scenario #1 - The Lincoln-Stanton Plan