2013Godfrey Bailey
- Videos
- 4
- Creators
- 4
Mainly reviews and how-to-play
1 players180 minHeavy weight
2016Geoff Noble, Godfrey Bailey
Playthroughs. Redvers' Reverse: The Battle of Colenso, 1899 is covered on BoardGameVideo.com by 6 recorded sessions.
From BoardGameGeek
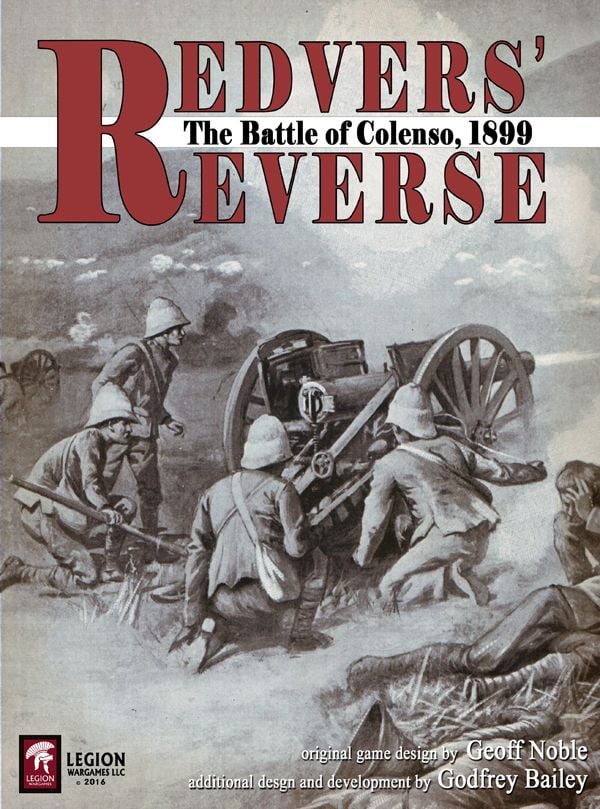
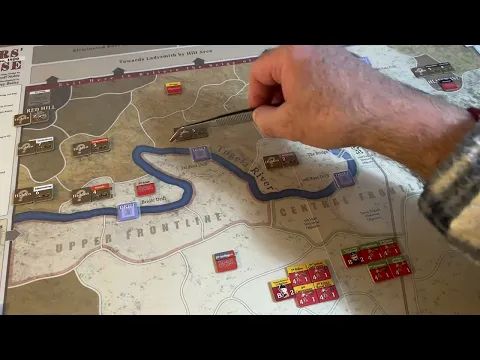
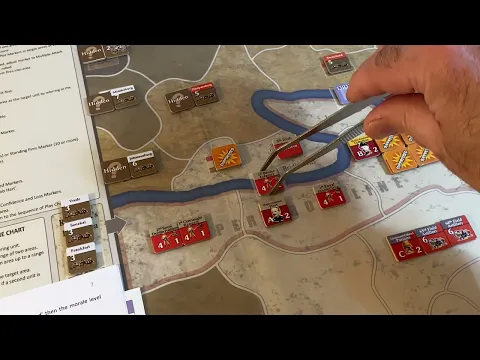
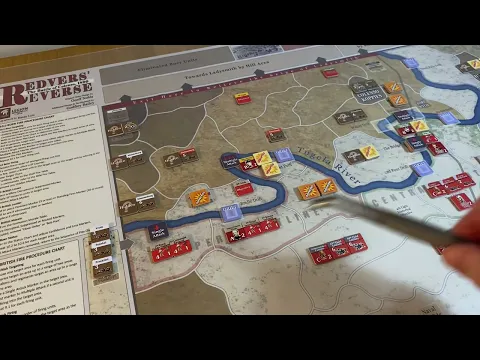
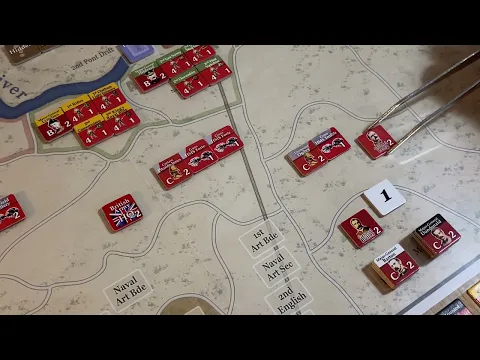
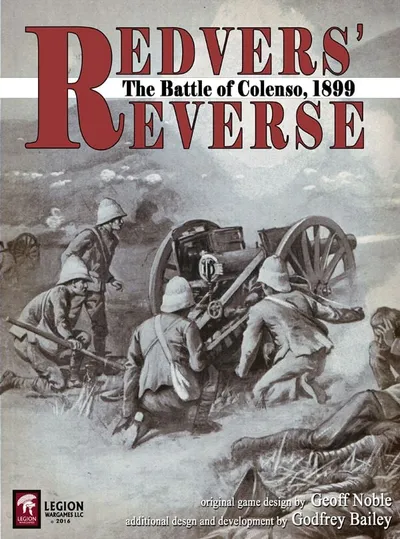
Geoff Noble - Designer On the 15th December 1899 General Sir Redvers Buller tried to cross the Thukela River in order to relieve the Siege of Ladysmith. He was faced by well entrenched Boer commandos who inflicted a reverse upon the British that ultimately led to Buller being relieved of command. Redvers Reverse is a solitaire area movement game that recreated the difficulties for the British in trying to affect a successful crossing of the Thukela against the Boer commandos (who are played by the game system). The game is at Battalion and Battery level with emphasis upon the leadership of the British at a Brigade level for Infantry and at Divisional level for the Cavalry. The key feature of the game is to present the player with the problems and difficulties that Buller himself faced. The player is provided with the same level of information and ability to influence events. Units are activated by orders sent from HQ to the various commanders, with the caveat that the receiving commander may not react as required. Orders remain in place until a rout or a commander initiative role. The nature of orders are to occupy a designated area. Combat is resolved rolling a 10 sided dice with a minimum number to hit. The impact on the two sides, from hits received, differs considerably due to the asymmetrical situation, both historically and in game terms. In addition there are numerous die modifiers for Dug in (mostly Boer), Terrain of area, Density of units in the area, Flank fire etc etc. Boer fire is usually determined by each Gruppe firing at the closest occupied area but there are certain designated exceptions. Besides combat loses units can become Disrupted, Suppressed or Rout. Leaders can Stand Firm or Panic. Both Units and Leader can recover from these postures during the Recovery Phase. For the British it is a race against time, the longer he delays the higher the Boer confidence goes, this is measured by a ‘Confidence track' which rises and falls according to events on the Battlefield. As the level of Boer confidence, alongside the extent of the Boer loses, is central to determining if the Boer retire and thus the British win, it must be kept low at all costs. This simple rule prevents the British concentrating against the Hlangwane and turning the Boer flank, he just hasn't got the time to redeploy his forces. There will also be a simple rule to handle Hart's confusion when trying to find a fordable crossing of the Thukela. The Boer Gruppe are in their historical positions but their exact Firepower can change slightly from turn to turn. The British player does not know the exact firepower of each Gruppe until they are engaged. As loses are inflicted upon the Boer's their firepower will slowly decline and the likelihood of them withdrawing slowly increase. Whether or not they withdraw is determined at the end of each game turn by revealing the full firepower available, the position on the ‘Confidence track' and a die role. The British can win but it won't be easy, the system will win most of the time. The intention is for the player to feel that if I give it one more go I can do it. Game scale: Map: 22" x 34" area map with a scale of 3" to a mile. Units: Company/Battalion/Battery with individual leaders. Turn: 30 minutes each.
Redvers' Reverse: The Battle of Colenso, 1899 has 6 videos from 1 creator: 6 playthroughs. They date from January to February 2024.
If you like it, try 1066: Year of Destiny, also by Geoff Noble, or Hill of Doves: The First Anglo-Boer War, also by Godfrey Bailey, or Silent War 2.0 and Quebec 1759, which share several of its mechanics.

2013Godfrey Bailey
1 players180 minHeavy weight
1972Steve Brewster, Tom Dalgliesh, Lance Gutteridge
2 players60 minMedium weight
From BoardGameGeek:
Geoff Noble - Designer On the 15th December 1899 General Sir Redvers Buller tried to cross the Thukela River in order to relieve the Siege of Ladysmith. He was faced by well entrenched Boer commandos who inflicted a reverse upon the British that ultimately led to Buller being relieved of command. Redvers Reverse is a solitaire area movement game that recreated the difficulties for the British in trying to affect a successful crossing of the Thukela against the Boer commandos (who are played by the game system). The game is at Battalion and Battery level with emphasis upon the leadership of the British at a Brigade level for Infantry and at Divisional level for the Cavalry. The key feature of the game is to present the player with the problems and difficulties that Buller himself faced. The player is provided with the same level of information and ability to influence events. Units are activated by orders sent from HQ to the various commanders, with the caveat that the receiving commander may not react as required. Orders remain in place until a rout or a commander initiative role. The nature of orders are to occupy a designated area. Combat is resolved rolling a 10 sided dice with a minimum number to hit. The impact on the two sides, from hits received, differs considerably due to the asymmetrical situation, both historically and in game terms. In addition there are numerous die modifiers for Dug in (mostly Boer), Terrain of area, Density of units in the area, Flank fire etc etc. Boer fire is usually determined by each Gruppe firing at the closest occupied area but there are certain designated exceptions. Besides combat loses units can become Disrupted, Suppressed or Rout. Leaders can Stand Firm or Panic. Both Units and Leader can recover from these postures during the Recovery Phase. For the British it is a race against time, the longer he delays the higher the Boer confidence goes, this is measured by a ‘Confidence track' which rises and falls according to events on the Battlefield. As the level of Boer confidence, alongside the extent of the Boer loses, is central to determining if the Boer retire and thus the British win, it must be kept low at all costs. This simple rule prevents the British concentrating against the Hlangwane and turning the Boer flank, he just hasn't got the time to redeploy his forces. There will also be a simple rule to handle Hart's confusion when trying to find a fordable crossing of the Thukela. The Boer Gruppe are in their historical positions but their exact Firepower can change slightly from turn to turn. The British player does not know the exact firepower of each Gruppe until they are engaged. As loses are inflicted upon the Boer's their firepower will slowly decline and the likelihood of them withdrawing slowly increase. Whether or not they withdraw is determined at the end of each game turn by revealing the full firepower available, the position on the ‘Confidence track' and a die role. The British can win but it won't be easy, the system will win most of the time. The intention is for the player to feel that if I give it one more go I can do it. Game scale: Map: 22" x 34" area map with a scale of 3" to a mile. Units: Company/Battalion/Battery with individual leaders. Turn: 30 minutes each.
Designers
Geoff Noble, Godfrey Bailey
Artists
Knut Grünitz, Randy Lein
Publisher
Legion Wargames LLC
Categories
Mechanics